
 9,3 / 10 - 4.136 reviews
Want to buy a Coldcard Mk3? Buy it here!
English manual Coldcard Mk3
Buy Coldcard Mk3
Installing your Coldcard Mk3
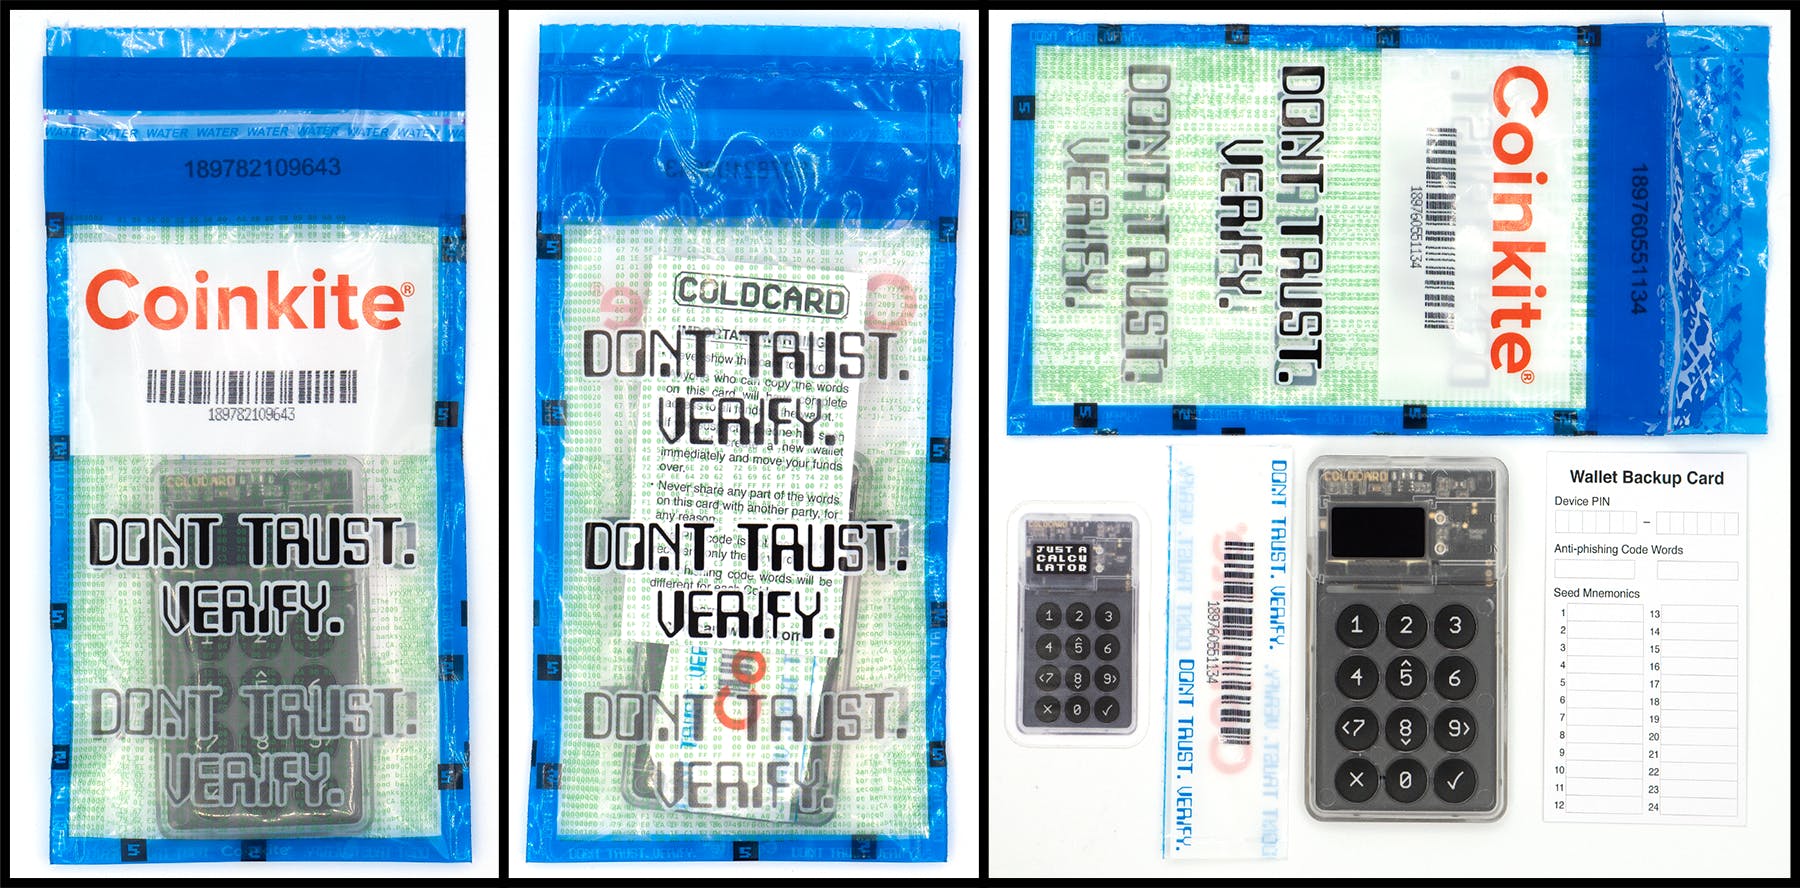
Step 1: The package
Your coldcard should have arrived sealed in a very special bag: It has a large Coinkite logo, green text, a blue border, and a barcode with the number underneath. This number is important and we call it the "bag number". Please make note of this number because the Coinkite factory has recorded this number into the secure area of flash memory inside your Coldcard.
Before opening the bag, please inspect the bag for damage or signs of being previously opened. After you pull apart the top seal, it will show the word "VOID".
The purpose of the bag, and its unique number, is to give you confidence that the Coldcard has come directly from the factory and has not been modified by anyone before you get started.
This is merely one of many layers of security, and we know that plastic bags can be "hacked" with sharp knives and so on. This is an example of "Defense in Depth".
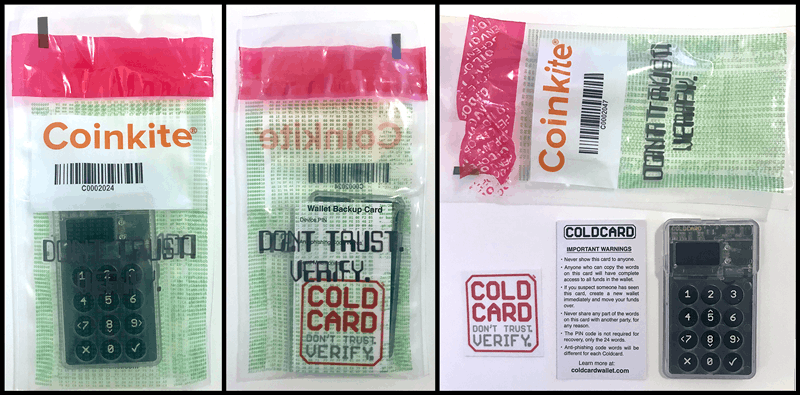
Tamper Evident Bag (V2)
A serialized tear off tab of the bag is included inside. You should use this tab to double check the width of the bag. You can also use a magnifying glass to check the perforations of the tab match the bag. It is important to observe the bottom of the bag is seamless.
Tamper Evident Bag (V1 — now obsolete)
We are no longer using this 'red' bag design.
Step 2: Install Coldcard
Connect a power supply to the Coldcard using the USB port at the top. Any Micro USB cable you already have can be used. You can connect the USB to a computer, but at this stage, a wall charger or USB power pack could also be used. It just needs power, not data.
Step 3: Terms and conditions
The first screen you will see looks like this:

If you look closely at the right edge of the screen, there is a small scroll bar and arrow pointing downwards. Use the 5 and 8 keys to move up and down and see the full message.
The complete terms document can be found here. Press the OK key (checkmark, lower right) to accept the terms and continue.
Step 4: Choose your PIN
Before a Bitcoin seed is generated, you must select a primary PIN. This is your main defence against random people using your Coldcard when you are not around. Please pick good PIN codes!
On the Coldcard, the PIN consists of two parts, like these examples:
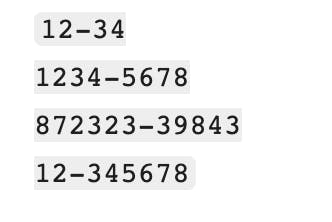
The first part is called the prefix (1234-) and the second, the suffix (-4567). Each part must have between 2 and 6 digits. The prefix determines the anti-phishing words you will see each time you login.
When you pick your PIN code, you'll see the anti-phishing words associated with the PIN prefix. These words will be unique for each Coldcard. You may want to experiment with a few different PIN prefixes until you find some fun or memorable words. Regardless, you will need to remember those words, as it's important to verify those words before proceeding to the second part of the PIN—every time you login to the Coldcard.
As usual, you will be asked to confirm the new PIN and enter it a second time.
Important
No-one can help you if you forget your PIN. There is no back door, hints or alternative ways into the Coldcard.
Use a longer PIN
We strongly recommend using "four plus four" digits in your PIN: 1234-5678
Having just "two plus two" is permitted, but might allow brute force attacks.
Step 5: New wallet or import
Once your PIN has been established, it's time to setup your wallet. You should see a menu like this:
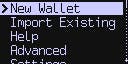
If you already have a BIP39 seed, or a backup from another Coldcard, or even a XPRV (extended private key), you should choose Import Existing menu item. However, most new users will start with New Wallet.
New Wallet (New Seed).
Choose New Wallet to generate 24 words using the BIP39 word list.
The words are then shown to you. Write down the seed words, in order, on the provided card or some other paper. Please be careful at this stage and make 100% certain that each word is recorded correctly. You might want to duplicate them by hand at this point too (ie. make a backup copy).
Once you've written the words down, press OK to continue to the quiz. The Coldcard will ask you what each word is, in random order. We do this to verify your backup copy is correct. If at any point you are unsure of a word, you may see them again by pressing OK.
If you complete the quiz successfully, the words are saved, your new Coldcard is ready to be used.
Important Warning
It is critical to write down the wallet seed. Do not use this product without the seed written down and stored safely offline. Do not save the wallet seed onto a computer or mobile phone. Do not take a picture of the seed words with anything other than a chemical camera.
Passphrase (BIP39)
If you want to use a BIP39 passphrase you can enter it at this point to switch to that wallet. Remember to do this every time you want to access the wallet under that passphrase.
Step 6: Ready to sign
Once your PIN code and master seed have been established, your Coldcard is ready for daily operation. You should see a menu like this one:

If the USB port is connected to a computer, the Coldcard makes itself available to that computer. (The Coldcard is invisible to the attached computer, if any, until the PIN code is correctly entered.) You can use a desktop wallet, such as Electrum, to pair with the Coldcard and then send it transactions to be signed.
Alternatively, you can use a MicroSD card to bring in transactions and sign them.
Step 7: Use with Electrum via USB
- All versions of Electrum since 3.2.3 have Coldcard support built-in.
- Download the latest here and verify your download with PGP signature.
- Select "New/Restore" from File menu
- Pick file name.
- Pick "Standard Wallet"
- Pick "Use a hardware device"
- Select the Coldcard device shown
- Choose Segwit or classic address format
- Operates like any other USB hardware wallet
Use Coldcard offline (with Electrum 4.0.3)
- Secure quality MicroSD cards of small size.
- On the Coldcard, go to: Advanced > MicroSD Card > Export Wallet > Electrum Wallet.
- Read and approve the warning message, like this:

- A new file, new-wallet.json, is written to the MicroSD.
- Remove card, take to a computer running Electrum.
- Your Electrum client must have the Coldcard plugin enabled.
- Open the wallet file, and wait for sync to complete.
- You may want to keep the wallet file (which now has many additional details about change addresses and so on) elsewhere on your computer.
Do you want to pay from this wallet?
- Open the wallet in Electrum.
- Setup your new transaction as usual.
- Choose Finalize transaction, then select Export > For hardware device; include xpubs > Export to file.
- (Do not choose top-level Export to file option: the PSBT file generated is not compatible.)
- You can save the PSBT file directly to your MicroSD card at this point.
- Use a short file name that describes transaction or has the date; must end in .PSBT.
- Move that card to the Coldcard.
- Select "Ready to Sign" from main menu of the Coldcard.
- Pick today's PSBT file from the list (if there is more than one on the card).
- Approve the details of the transaction.
- The resulting transaction will be saved back to the card, under the same filename with new ending: -final.txn.
- Use any copy of Electrum, or a public service to push the hex-encoded transaction from that file.
- For example, in Electrum, use Tools > Load transaction > From file.
'Skeleton' wallets
Coldcard supports creating 'skeleton' wallet files for these systems:
- Bitcoin Core.
- Electrum.
- Wasabi.
- Generic JSON.
Multiple accounts
When exporting files for Bitcoin Core or Electrum, you may now press "1" at the confirmation screen, and then enter an arbitrary "account number" on the Coldcard. That account number is put as the last hardened component of the derivation path for the wallet's keys.
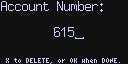
In this example, if a segwit-style wallet was made, the full derivation path of the first address (non-change) would be:

Note the 615' in the the path. By default, account number is zero.
The next step
- Keep your Coldcard in a safe location. Every time you remove it from storage and use it, please consider the following:
- Are there scratches on the case?
- Is the light green or red? It should be green!
- Are the anti-phishing words correct? Do not enter the rest of your PIN if you are unsure.

 WhatsApp
 Email
Email